DIY Recipe Binder: Tips & Free Printables
I've found that having the right supplies is key to creating a functional DIY recipe binder. I opt for a sturdy three-ring binder, white cardstock, and sheet protectors to keep my recipes safe and organized. To assemble my binder, I use tabs and dividers to categorize recipes logically, and add personal touches like colorful paper and stickers. I tailor my binder to fit my cooking style by categorizing recipes by meal type or ingredient, and include a conversion chart for quick reference. With these tips and free printables, you'll be well on your way to creating a kitchen companion that's all your own - and there's so much more to explore.
Key Takeaways
• Choose durable and sturdy supplies, like a three-ring binder and sheet protectors, to ensure your recipe binder lasts.
• Organize dividers and tabs in a logical order to group similar recipes, making it easy to find what you need.
• Personalize your binder with colorful paper, washi tape, and stickers to give it a unique touch.
• Categorize recipes by meal type, cooking method, or ingredient to create a functional and easy-to-use binder.
• Include a conversion chart and utilize sheet protectors to keep recipes in pristine condition and easily accessible.
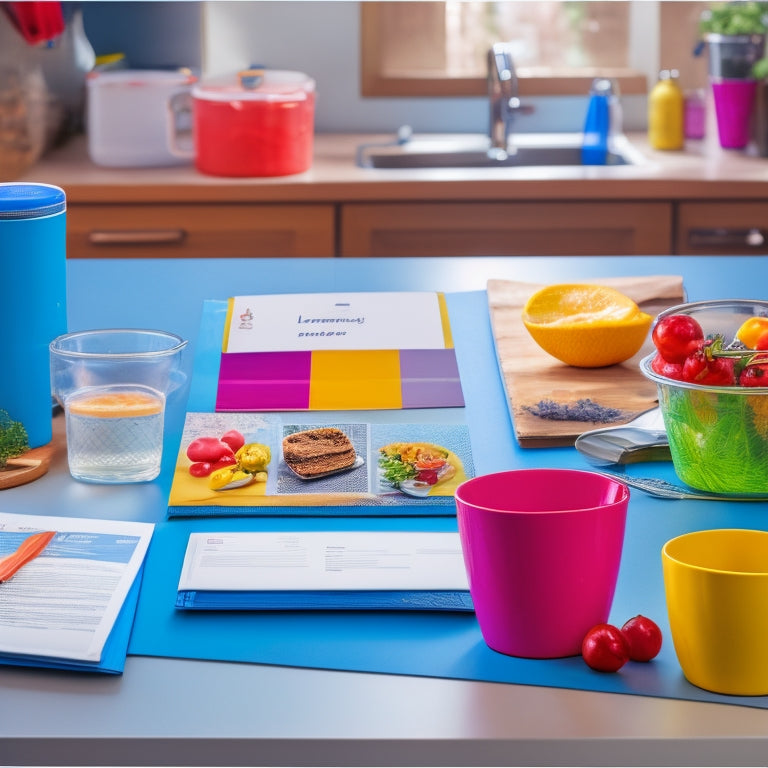
Gathering Essential Supplies
I begin by collecting the essential supplies, which include a three-ring binder with an insertable front cover slot, at least seven sheets of white cardstock, sheet protectors for my divider pages and recipes, and some colorful paper for the front insert of my binder.
Choosing the right supplies is essential in getting organized. I opt for a sturdy binder that can hold all my recipes and dividers. The white cardstock will provide a clean backdrop for my recipe printouts, while the sheet protectors will keep them safe and easily accessible.
With these basics in place, I'm ready to start building my recipe binder. By getting organized from the start, I'll save time and reduce clutter in the long run.
Assembling the Recipe Binder
Gather your printed dividers and tabs, and get ready to bring your recipe binder to life by assembling the essential components.
I start by arranging my dividers in a logical order, grouping similar recipes together. Next, I attach the tabs to the dividers, making sure they're secure and easy to flip through.
Decorating dividers with colorful paper or stickers adds a personal touch, making my binder truly unique. As I assemble the binder, I consider my binder organization strategy, deciding which recipes to prioritize and how to categorize them.
With each component in place, my binder begins to take shape, and I can't wait to fill it with my favorite recipes.
Customizing and Using Your Binder
With your binder assembled, it's time to tailor it to your cooking style by adding personal touches and filling it with your favorite recipes.
I like to add a dash of color with washi tape and stickers to make it visually appealing. To guarantee effective recipe organization, I categorize my recipes by meal type, cooking method, or ingredient.
Utilizing recipe binder essentials like sheet protectors and dividers helps keep my recipes in pristine condition and easy to access. I also make sure to include a conversion chart for quick reference.
Frequently Asked Questions
Can I Use a Different Type of Binder Besides a Three-Ring Binder?
'I totally get it, a three-ring binder might not be everyone's cup of tea! You can definitely experiment with alternative binders made from different materials, like leather, fabric, or even a disc-bound system - just make sure it's sturdy and functional for your recipe organization needs!'
How Do I Organize Recipes Within Each Category Tab?
"I'm drowning in a sea of recipes! To stay afloat, I prioritize my faves, color-code tabs by meal type, and allocate tabs for 'to-try' and 'seasonal' recipes - it's a game-changer for a stress-free cooking experience!"
Can I Add Photos or Pictures to My Recipe Binder?
I love adding visual flair to my recipe binder! I incorporate digital scrapbooking techniques, printing out small photos of dishes to attach alongside recipes, and even try recipe journaling with handwritten notes and doodles for a personal touch.
Is There a Way to Make the Binder More Portable?
Can I make my recipe binder as portable as my favorite cookbook? Yes! I'll upgrade to a mini binder and store it in a travel case, making it easy to whip out recipes on-the-go!
Can I Customize the Binder for a Specific Diet or Cuisine?
"I can easily tailor my binder to vegan options or cultural inspiration by categorizing recipes with tabs and labels, and including conversion charts for international measurements, making my cooking journey more personalized and exciting!"
Conclusion
The irony - I was once drowning in a sea of recipe chaos, and now I'm swimming in a ocean of organization!
My DIY recipe binder has become my most trusted kitchen companion, and I'm thrilled to share it with you.
With these simple steps and free printables, you too can tame the recipe beast and cook with confidence.
Who knew a little binder could bring so much joy (and delicious meals) to my life?
Related Posts
-
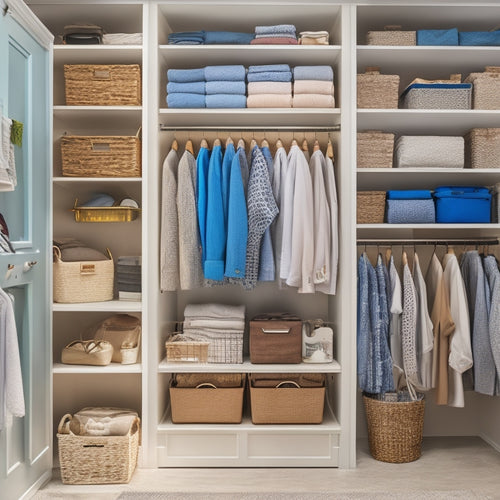
Budget-Friendly Closet Storage Hacks You Can Try
You can transform your cluttered closet into a serene oasis without breaking the bank by implementing a few ingenious...
-
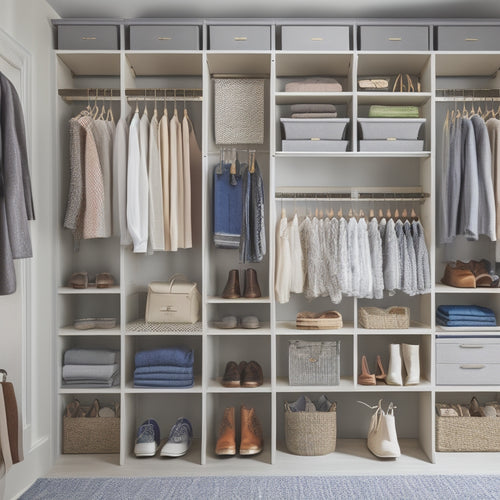
Maximize Your Space: 10 DIY Closet Hacks
You can open up to 30% more storage space in your closet by implementing a few simple DIY hacks. Start by maximizing ...
-

Smart U-Shaped Kitchen Remodeling Solutions
You're undertaking a smart U-shaped kitchen remodeling project, and optimizing space efficiency is key to creating a ...


