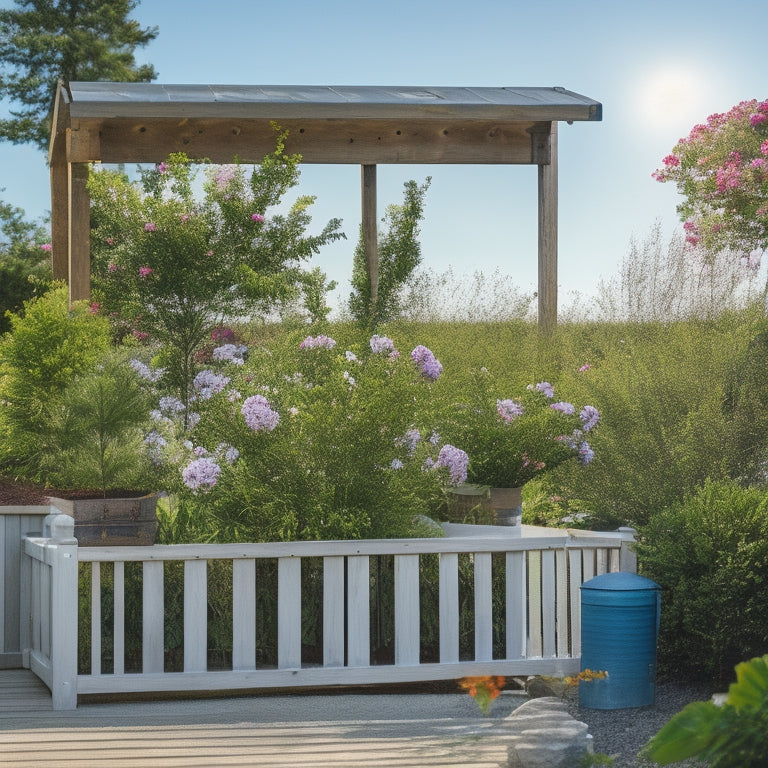
DIY Elevated Planter Box With Decorative Trellis
Share
I've built several DIY elevated planter boxes with decorative trellises, and I can attest that with the right tools and a clear plan, anyone can create a stunning garden feature. To start, I utilize a miter saw and table saw to accurately cut the panels, then assemble them with wood glue and brad nails. Next, I craft a lattice pattern trellis using 1x4 pressure-treated boards, ensuring it's sturdy enough to support climbing plants. Finally, I assemble the six panels, attach the trellis, and confirm it's secure and evenly spaced. Now that you've got a sense of the basics, let's get into the nitty-gritty details of bringing your DIY project to life.
Key Takeaways
• Assemble the planter box using a miter saw and table saw for accurate cuts, and secure the panels with wood glue and brad nails.
• Craft a sturdy lattice pattern trellis using pressure-treated 1x4 boards, ensuring secure assembly and spacing for climbing plants.
• Position the planter box outdoors, ensuring proper leveling, and add finishing touches by planting greenery in a sunny spot with water drainage.
• Maintain the planter box and trellis by watering and pruning plants regularly, applying wood sealant, and providing adequate sunlight and nutrients.
• Customize the design to fit your personal style and space, and enjoy the beauty of climbing plants on the decorative trellis, boosting your outdoor space's curb appeal.
Building the Planter Box
With my trusty miter saw and table saw at the ready, I begin building the planter box by cutting the legs, rails, and planks to their appropriate lengths. Following the cutting instructions, I carefully measure and mark each piece to guarantee accuracy.
Next, I assemble the panels, attaching the planks to the legs and rails using wood glue and brad nails. I construct the front and back panels first, then move on to the side panels, securing them at the corners with brad nails and wood glue. The assembly process is straightforward, and with the panels complete, I'm ready to move on to the next step.
I take pride in my work, knowing that a sturdy planter box is essential for supporting the weight of the soil and plants.
Adding the Decorative Trellis
I turn my attention to crafting the decorative trellis, an essential element that will add visual interest and support climbing plants.
For the trellis design, I opt for a simple yet elegant lattice pattern, using pressure-treated 1x4 boards to guarantee durability. To maintain the trellis, I'll make sure to clean it regularly and apply a wood sealant to protect it from the elements.
When selecting climbing plants, I'll choose varieties that thrive in my local climate and require minimal care, such as clematis or ivy. Proper care will involve providing adequate sunlight, water, and nutrients, as well as pruning the plants to encourage healthy growth.
Final Assembly and Installation
Six individual panels come together to form the elevated planter box. I now assemble it by attaching the sides, back, and front panels to each other using wood glue and brad nails.
I confirm the trellis design is secure and evenly spaced, allowing for sufficient soil depth for my plants to thrive.
Next, I position the planter outdoors and level it, making any necessary adjustments.
Finally, I add the finishing touches, including planting my chosen greenery.
When it comes to installation tips, I recommend placing the planter in a spot with adequate sunlight and water drainage.
For maintenance requirements, I suggest regular watering and pruning to keep the plants healthy and the trellis looking its best.
With these steps complete, my elevated planter box with decorative trellis is ready to enhance my outdoor space.
Frequently Asked Questions
Can I Use Reclaimed or Recycled Wood for This Project?
'I believe using reclaimed or recycled wood is a great idea, as it preserves wood history and offers significant sustainability benefits; just make sure the wood is properly treated and dried to prevent rot and damage.'
How Do I Protect the Wood From Rot and Pests Outdoors?
Like a protective shield, I safeguard my outdoor wood creations by applying wood sealants and moisture barriers, ensuring they remain resilient against rot and pests, standing strong against the elements.
What Type of Plants Are Suitable for an Elevated Planter Box?
When choosing plants for an elevated planter box, I opt for vine varieties like clematis or wisteria that thrive in vertical spaces, and flower choices like petunias or geraniums that cascade beautifully over the edges.
Can I Modify the Design to Fit a Smaller or Larger Space?
"I can easily adapt this design to fit any space constraints by adjusting the panel sizes and trellis dimensions, offering customization options to suit specific needs and create a perfect fit for any yard or patio."
Do I Need to Add Drainage Holes to the Planter Box?
'I'm often asked if I'd compromise planter performance by skipping drainage holes, but trust me, it's essential to prevent water retention, ensuring healthy roots and avoiding root rot - don't risk it, drill those holes!'
Conclusion
As I stepped back to admire my handiwork, I realized that the most surprising thing about this DIY project wasn't the stunning elevated planter box with a decorative trellis, but how ridiculously easy it was to build.
I mean, who needs a fancy woodworking degree when you can just follow some simple steps and voila! You've got a beautiful planter that'll make your neighbors green with envy.
Related Posts
-

Can I Install a Car Lift in My Garage?
A Comprehensive Guide for Homeowners Envision the ultimate automotive sanctuary in your very own garage, where you...
-

What Busy Families Need for a Peaceful Home
You're already taking the first step towards a peaceful home by recognizing the importance of intentional systems and...
-

What's Missing in Your Storage Space Solution?
You're likely overlooking hidden opportunities to optimize your kitchen's storage capacity, leading to inefficiencies...


