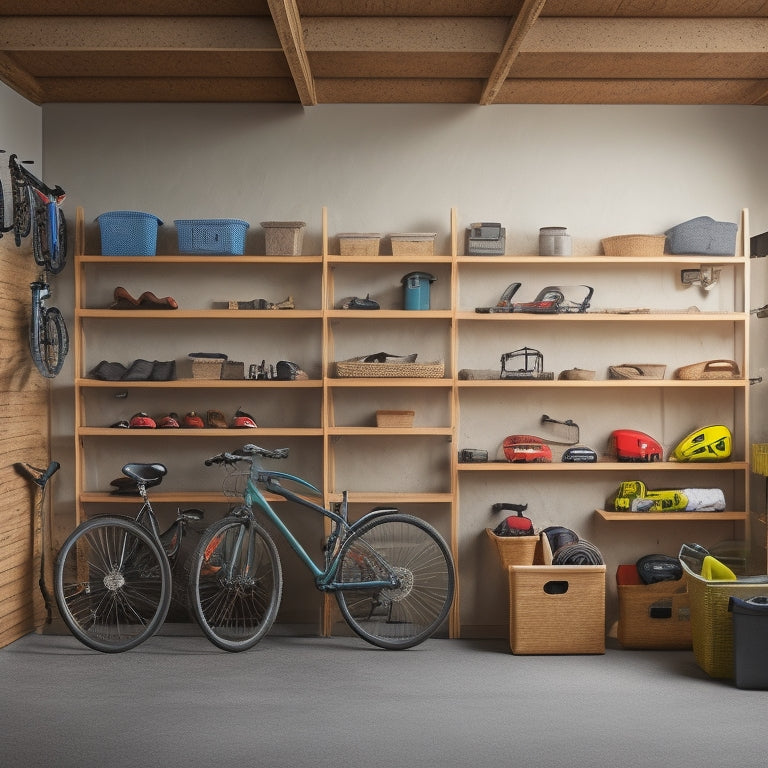
Free DIY Garage Shelving Plans to Declutter Your Space
Share
You're tired of a cluttered garage and want to transform it into a functional and organized space. With free DIY garage shelving plans, you can do just that! You'll maximize storage capacity, feel a sense of pride and accomplishment, and save money on storage solutions. To get started, consider your shelving material options, determine the ideal design, and choose durable materials like 3/4-inch plywood or MDF. With essential tools and materials in hand, you'll be ready to build a sturdy shelving unit tailored to your garage's unique dimensions. Next, discover how to customize your shelving for maximum storage and efficiency.
Key Takeaways
• Create a functional and organized garage space by choosing the right shelving design that complements your garage's aesthetic.
• Opt for durable shelving materials like 3/4-inch plywood or MDF and 2x4 lumber for frame construction to ensure weight capacity and stability.
• Customize shelving unit dimensions and incorporate adjustable shelf options to tailor the space to your specific needs and maximize storage.
• Prioritize safety, attention to detail, and careful planning to avoid common mistakes and ensure a successful DIY project.
• Set a realistic budget and stick to it to achieve a budget-friendly storage solution that meets your needs.
Benefits of DIY Garage Shelving
By opting for DIY garage shelving, you'll reveal a multitude of benefits that will transform your garage from a cluttered storage space into a functional and organized hub. With DIY garage shelving, you'll maximize your garage organization and space saving capabilities.
Imagine being able to fit all your tools, sports equipment, and seasonal decorations in a neat and tidy manner, leaving you with a sense of pride and accomplishment. Plus, by taking the DIY route, you'll save a pretty penny - it's a budget-friendly way to get creative with your storage.
You'll be able to think outside the box (or in this case, the garage) and come up with unique solutions that cater to your specific needs. For instance, you could repurpose old pallets or crates to create rustic shelving units or use wall-mounted baskets to store items like balls and bikes. The possibilities are endless, and with a little bit of creativity, you'll be well on your way to a clutter-free garage that's both functional and stylish.
Choosing the Right Shelving Design
As you start on your DIY garage shelving project, you'll need to determine the ideal shelving design that suits your specific storage needs, available space, and personal style.
Don't worry, it's not as challenging as it sounds! You'll need to contemplate shelving material options, such as wood, metal, or a combination of both. Wood shelving adds a touch of warmth and coziness, while metal shelving is sleek and modern. But, let's be honest, functionality is key here.
Think about what you'll be storing: bins, boxes, or maybe even your prized motorcycle (if you're a rebel like that).
Next, ponder the style vs. functionality debate. Do you want a sleek, minimalist design or a more rustic, industrial look? Perhaps you're aiming for a blend of both? Whatever your style, make sure it complements your garage's overall aesthetic.
Essential Tools and Materials Needed
With your shelving design in mind, you'll need to gather the necessary tools and materials to bring your vision to life. Think of it as preparing for a battle against clutter – you want to be equipped with the right arsenal to emerge victorious!
For tool organization, you'll need a drill, impact driver, tape measure, level, and a stud finder. Don't forget a pencil and paper for marking cuts and taking notes.
Now, onto materials! For shelving durability, opt for 3/4-inch plywood or MDF for the shelves, and 2x4 lumber for the frame. Consider the material cost and choose wisely – you don't want to break the bank. Also, think about the shelving weight capacity you need. If you're planning to store heavy tools or equipment, you may want to use thicker, heavier-duty materials.
Building Your Garage Shelving Unit
Now that you've gathered all the necessary tools and materials, it's time to bring your garage shelving unit to life.
You'll start by finalizing your design, deciding on the perfect layout to maximize your garage's storage potential.
With your plan in hand, you'll begin building the frame, carefully constructing the foundation of your shelving unit to guarantee it's sturdy and secure.
Shelving Unit Design
You'll start building your garage shelving unit by determining the best dimensions and layout to maximize storage space and accommodate your specific needs. This is where space optimization comes into play, and creative solutions will be your best friend.
Consider the items you need to store, their sizes, and how often you'll need to access them. Think vertically to make the most of your garage's ceiling height, and don't be afraid to get creative with awkward corners or narrow spaces.
Here are a few things to keep in mind when designing your shelving unit:
-
Don't forget about the 'dead' space: Make the most of the area above your shelves by adding baskets, bins, or even a pegboard for hanging items.
-
Think about your workflow: Design your shelving unit to accommodate your most frequently used items, keeping them within easy reach to save time and energy.
-
Get flexible: Incorporate adjustable shelves and storage bins to accommodate items of varying sizes and shapes.
Building the Frame
As you begin constructing the frame of your garage shelving unit, lay out the 2x4 lumber for the sides, top, and shelves, ensuring a sturdy foundation for your storage system.
You're basically building a giant Lego tower, but with power tools and a lot more swearing. Make sure to measure accurately, because wonky shelves are the worst – you don't want your prized possessions tumbling down like a game of Jenga.
Safety precautions are a must: wear those protective goggles and gloves, and don't even think about using that circular saw without a steady hand. You're not trying to win a Darwin Award, after all.
Cut the lumber according to your design plan, and use those trusty drill bits to screw everything together. Remember, a level shelf is a happy shelf (and a happy you, for that matter).
As you build, visualize the organized bliss that awaits – no more clutter, no more chaos. Just a sleek, sturdy shelving unit that'll make your garage the envy of the neighborhood. Now, get building!
Customizing Your Shelving for Maximum Storage
As you customize your garage shelving unit, you'll want to contemplate the dimensions of the unit itself, taking into consideration the space available in your garage and the items you need to store.
You'll also want to think about incorporating adjustable shelf options, which will enable you to tailor your storage to specific items and maximize your space.
Shelving Unit Dimensions
Customizing your shelving unit's dimensions allows you to maximize storage capacity by tailoring the space to fit your specific garage needs. You'll want to take into account the weight capacity of your shelving unit, ensuring it can hold all your gear without compromising stability.
Think about the height and width of your unit, too - will you need tall shelves for storing bikes or short ones for bins and baskets?
Here are a few things to keep in mind when customizing your shelving unit's dimensions:
-
Don't forget about the 'golden zone': the area between 30-40 inches off the ground, where you can easily access your most frequently used items without straining your back.
-
Leave some breathing room: make sure there's enough space between shelves for easy retrieval and to prevent clutter from building up again.
-
Take into account the 'dead zone': the area above 6 feet, where items tend to get lost or forgotten - use this space for infrequently used items or seasonal decorations.
Adjustable Shelf Options
With adjustable shelf options, you can fine-tune your garage shelving unit's storage capacity by repositioning shelves to accommodate items of varying sizes, ensuring maximum storage efficiency and flexibility.
Imagine being able to customize your shelves to fit those awkwardly shaped storage bins or bulky tools – it's a game-changer for garage organization!
When choosing adjustable shelves, consider the shelf height and width you need. Do you have tall, slender items like bikes or ladders? Opt for shelves with adjustable height settings. For wider items like storage totes or equipment, look for shelves with adjustable width settings.
Material options also play a pivotal role in adjustable shelving. Durable materials like metal or heavy-duty plastic can support heavier loads, while lighter materials like wood or MDF might be better suited for lighter items.
To wrap up, consider the assembly process – do you prefer a hassle-free, snap-together design or are you comfortable with more complex installations? By weighing these factors, you'll find the perfect adjustable shelving solution to maximize your garage's storage potential.
Tips for a Successful DIY Project
Your patience and persistence will be the driving forces behind a DIY garage shelving project that's both functional and visually appealing.
As you begin this adventure, remember that a successful project requires careful planning, attention to detail, and a dash of humor.
Here are some essential tips to keep in mind:
Safety first: Don't be a daredevil – wear protective gear, and make sure your workspace is well-ventilated and free from tripping hazards.
Plan your budget: Set a realistic budget and stick to it. You don't want to end up with a half-finished project and a drained bank account.
Get organized: Create a timeline, make a to-do list, and prioritize tasks. This will help you stay focused and avoid last-minute chaos.
Common Mistakes to Avoid
As you start on your DIY garage shelving project, pitfalls lurk around every corner, waiting to derail your best-laid plans and turn your dream into a nightmare. One common mistake isn't measuring your space accurately, leading to shelves that are either too big or too small. Don't be that person who ends up with a wobbly shelf that's more likely to collapse than hold your storage solutions.
Another mistake isn't considering your organization tips from the get-go. You'll end up with cluttered shelves and a garage that's still a mess. Think about the items you need to store and how you can maximize your space with space-saving ideas. For instance, consider installing shelves with baskets or bins to keep small items organized.
Lastly, don't underestimate the importance of a solid DIY project plan. Without it, you'll be stuck with a half-finished project that's more of an eyesore than a storage solution. Take your time, plan carefully, and you'll be enjoying your newly organized garage in no time.
Frequently Asked Questions
Can I Use Reclaimed Wood for My DIY Garage Shelving Project?
"You can totally use reclaimed wood for your DIY garage shelving project! Not only does it offer a unique, rustic charm, but it's also eco-friendly and budget-savvy - plus, it's a great alternative to new lumber."
How Do I Ensure My Shelving Unit Is Earthquake Resistant?
You'll want to guarantee your shelving unit is earthquake-resistant by choosing materials that can withstand seismic activity, using a secure anchoring method, and employing weight distribution and bracing techniques to keep everything from coming crashing down!
Are There Any Specific Safety Considerations for Shelving Units Near Electrical Outlets?
As you're about to install that shelving unit, don't get zapped! You're wise to wonder about safety near electrical outlets. Follow positioning guidelines to keep flammable materials at bay, and take essential safety precautions to avoid electrical shocks.
Can I Add Casters to Make My Shelving Unit Mobile?
'You're thinking of adding casters for easy mobility, right? Just guarantee your shelving unit's stability isn't compromised - you don't want it toppling over! Choose sturdy casters that can support the weight, and you'll be rolling with your new mobility options in no time!'
How Often Should I Clean and Maintain My Garage Shelving Unit?
You're wondering when to give your trusty shelving unit some TLC? Well, let's just say regular cleaning and maintenance are key to its longevity - think dusting every few weeks and deep cleaning every 3-6 months for a clutter-free haven that stays organized!
Related Posts
-

Concealing Garage Storage: Tips for a Tidy Space
Are you ready to transform your chaotic garage into an organized haven? With a little planning and effort, you can...
-

What's the Best Home Organization Online Course?
You're looking for a high-quality home organization online course to simplify your space and life. With so many optio...

